
Creating a beautiful cheese board doesn’t have to cost a fortune! In fact, we’ve shared tips on crafting affordable and budget-friendly cheese boards before, but we’re back with an updated version to measure the costs are accurate and packed with even more helpful tips. We also created three boards of our own that you can use for inspiration! With a little creativity and smart shopping, you can create a nice spread that’s both affordable and delicious. We used our local Aldi to source quality cheeses, meats, and accompaniments without breaking the bank, but other grocery stores also have great options. Below, we’ll guide you through the essentials of building a cheese board that looks great and stays within budget.
Start With What You Have
Before you head to the store, take a quick look in your cabinets and fridge! You may already have essentials like crackers, jams, mustards, or pickles that can help keep costs down. And don’t worry about needing a fancy serving board – a simple plate, cutting board, or even a baking sheet will do the trick! If you’re hosting a larger gathering, butcher paper from your local grocery store’s meat counter makes a great surface to build your cheese board on.
Step 1: Choose Affordable Yet Delicious Cheeses
Cheese is the star of the show and we are very lucky to live in Wisconsin where great cheese is not hard to come by. The key is to choose a variety of textures and flavors without overbuying. Here are some of our favorites:
- Cheddar: Widely available and affordable, cheddar is a versatile choice that can range from mild to sharp. For boards we love a good, aged cheddar, sharp and firm, perfect for some contrast.
- Brie or Camembert: Creamy and indulgent, a crowd-pleaser.
- Goat Cheese: Tangy and versatile, a great pairing with fresh fruits.
- Gouda: Sweet, nutty, and rich with a subtle flavor.
- Gruyere – A Swiss cheese with a nutty and slightly salty taste, great for a more savory option.
- Parmesan – A hard Italian cheese that’s perfect for breaking into chunks.
Tip: Opt for both hard and soft cheeses to create a balanced experience that will appeal to all palates. To maximize servings, consider slicing harder cheeses into cubes or various shapes – they’ll fill your board and last longer!
Step 2: Affordable Meats That Deliver Flavor
Cured meats add richness and texture to your cheese board without blowing your budget. Consider these cost-effective options:
- Salami: Packed with flavor and budget-friendly, perfect for layering.
- Prosciutto: Adds a touch of elegance with its delicate, salty flavor.
- Chorizo: Spicy and rich, it brings variety and depth to your spread.
Tip: You don’t need to fill the entire board with meats. A small amount goes a long way, so use it strategically to balance your board.
Step 3: Balance With Budget-Friendly Accompaniments
A beautiful cheese board isn’t complete without a few tasty accompaniments to enhance the flavors. Aldi’s snack aisles are a goldmine for affordable crackers, nuts, and fresh produce. Here are some options to add texture and taste:
- Crackers & Breadsticks: Opt for a mixture to add crunch and variety.
- Nuts: Walnuts, almonds, or pistachios add crunch and depth to your board.
- Fresh & Dried Fruits: Grapes, apples, dried figs, and apricots add a natural sweetness.
- Olives & Pickles: A tangy counterpoint to the richness of the cheeses.
- Honey & Jams: A drizzle of honey or a spoonful of jam adds a gourmet touch.
Step 4: Styling Tips
Even with budget-friendly ingredients, the presentation makes all the difference. Here’s how to style your board like a pro:
- Use a Wooden Board: A rustic, wooden board adds an elegant touch without breaking the bank.
- Layer & Overlap: Place cheeses first, followed by meats, and smaller items like fruits, nuts, and olives.
- Odd Numbers Look Best: Arrange items in groups of 3 or 5 for a visually appealing display.
- Pre-Cut Some Cheeses: This makes the board more inviting and easier to enjoy.
- Use Small Bowls: For spreads, nuts, and pickles, small bowls help keep everything neat and polished.
Bonus Styling Tip: Garnish your board with fresh herbs like rosemary or thyme to fill any empty spaces and add a pop of color.
Step 5: Let Cheese Reach Room Temperature
For the best flavor, let your cheese sit at room temperature for 30–60 minutes before serving. This makes the flavors truly come alive, and your cheese will be at its best texture.
Our Boards and What We Spent:
Alright let’s dive into the boards we built! We curated three cheese boards at different price points using only ingredients from Aldi! Here’s a breakdown of our costs to help you plan your own board. If you like the way these look, you’ll love the way they taste:
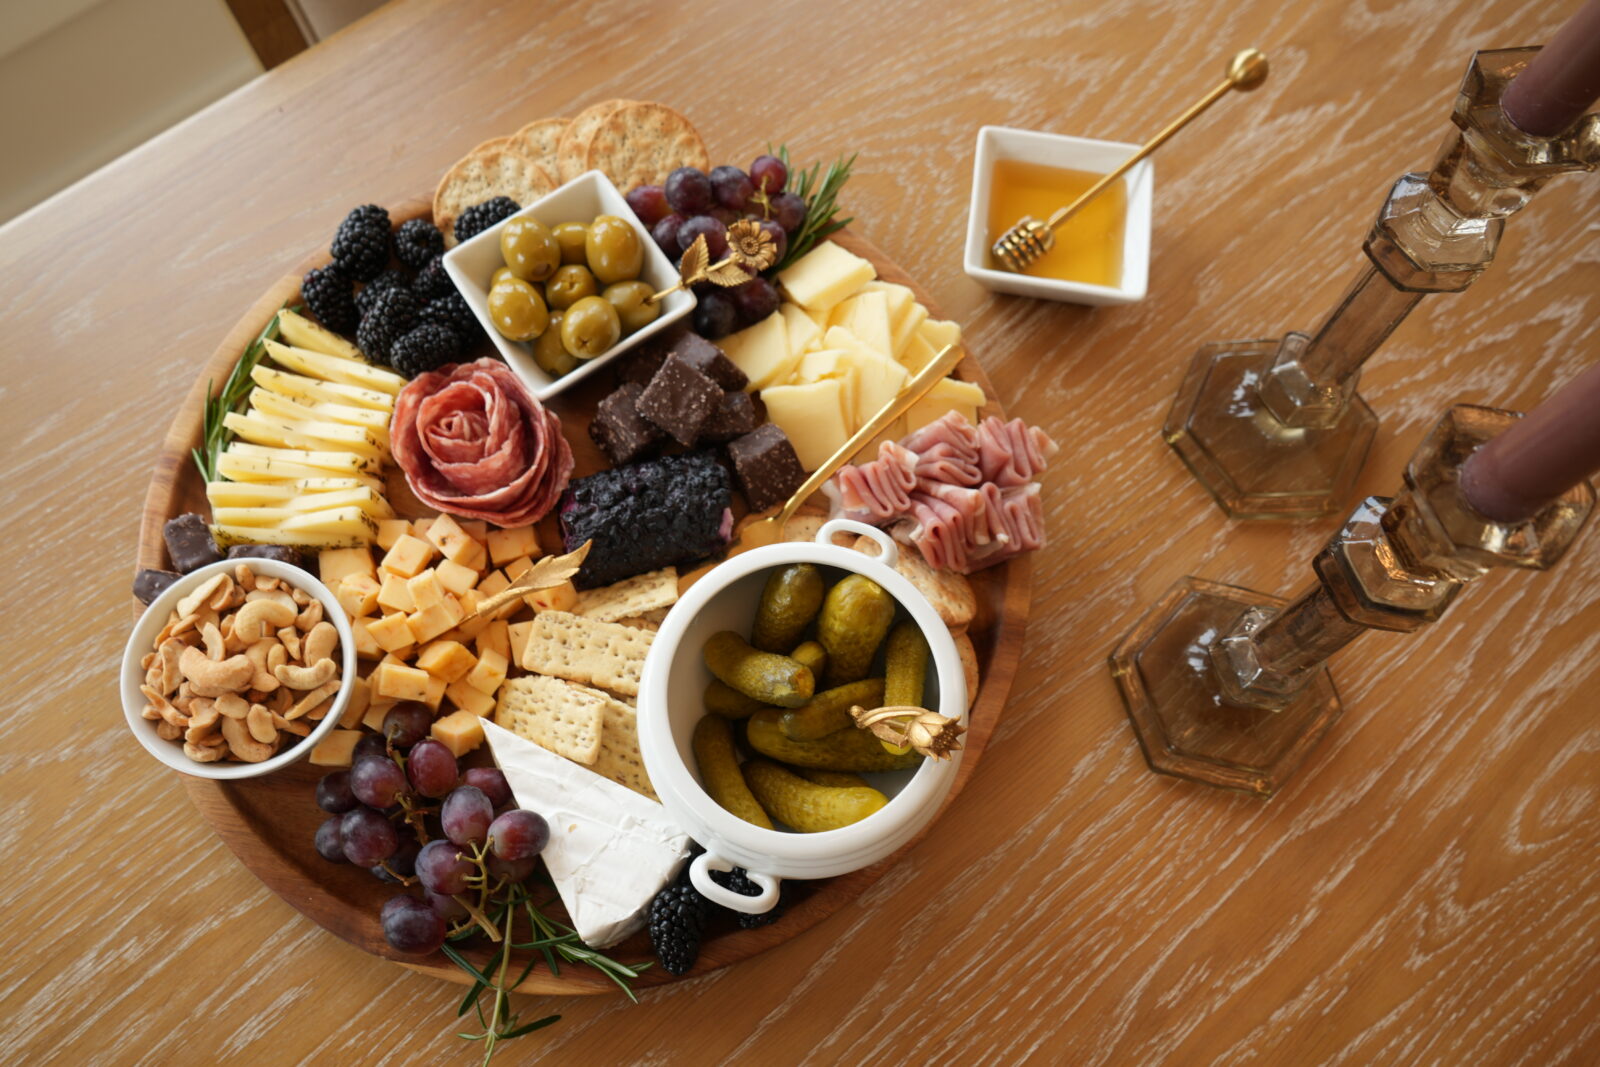
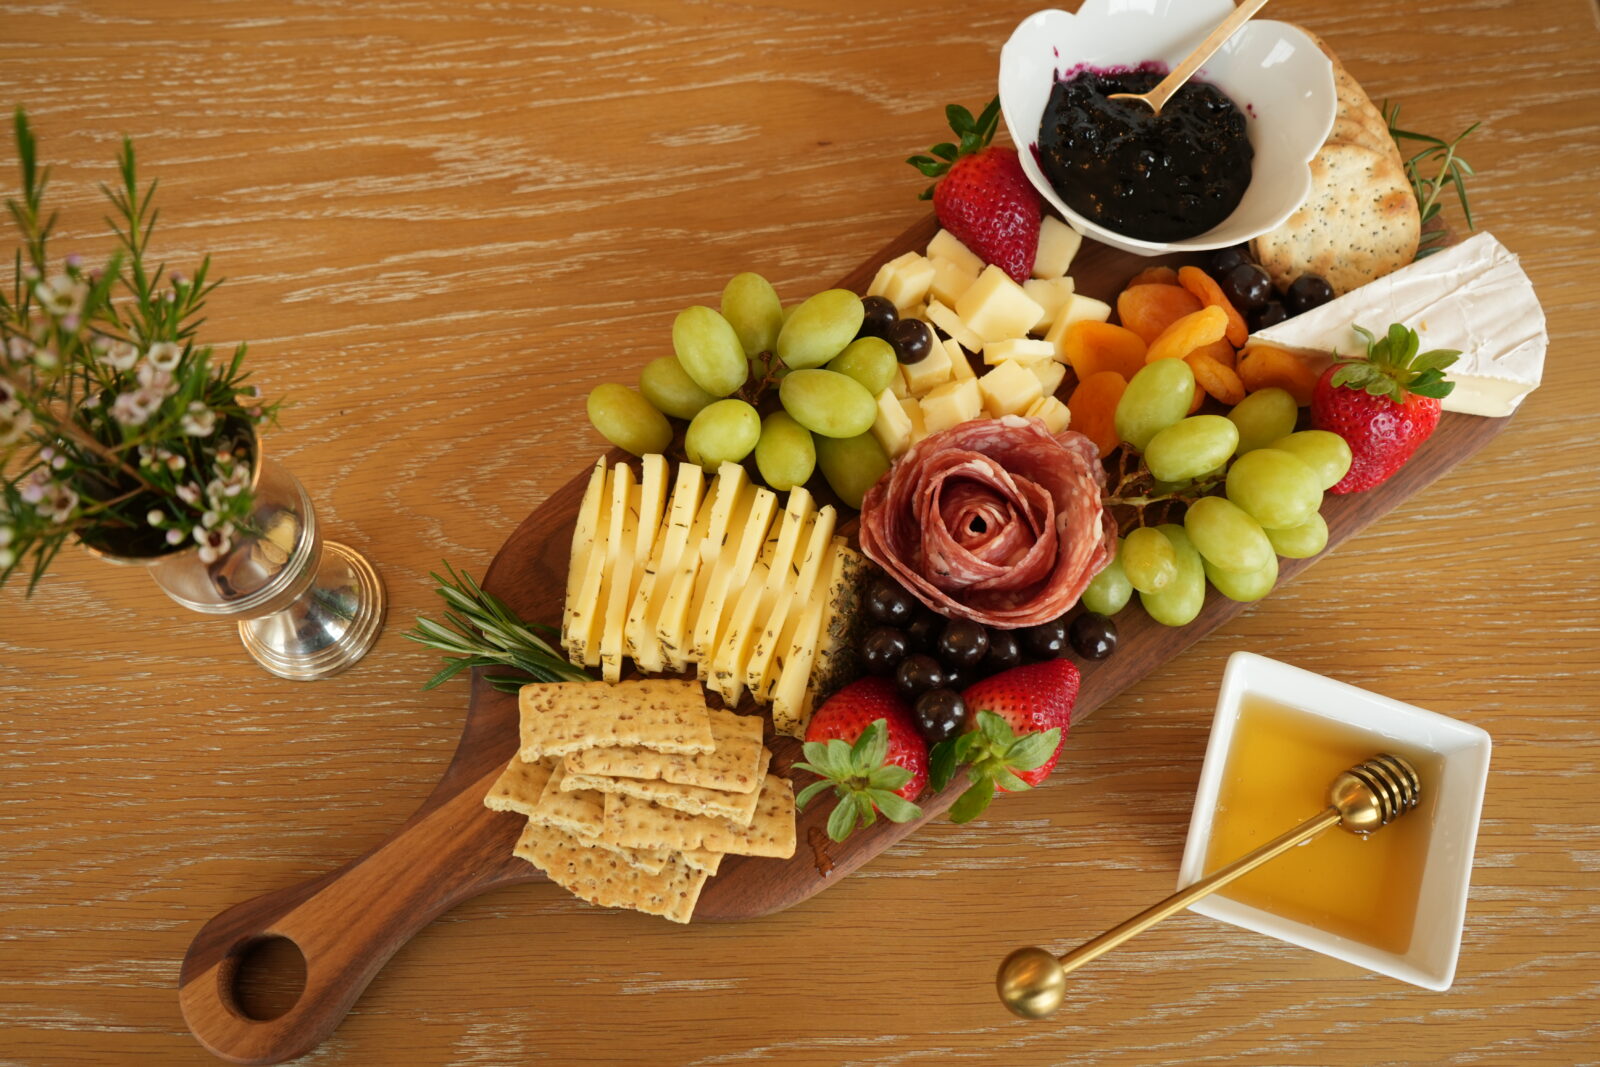
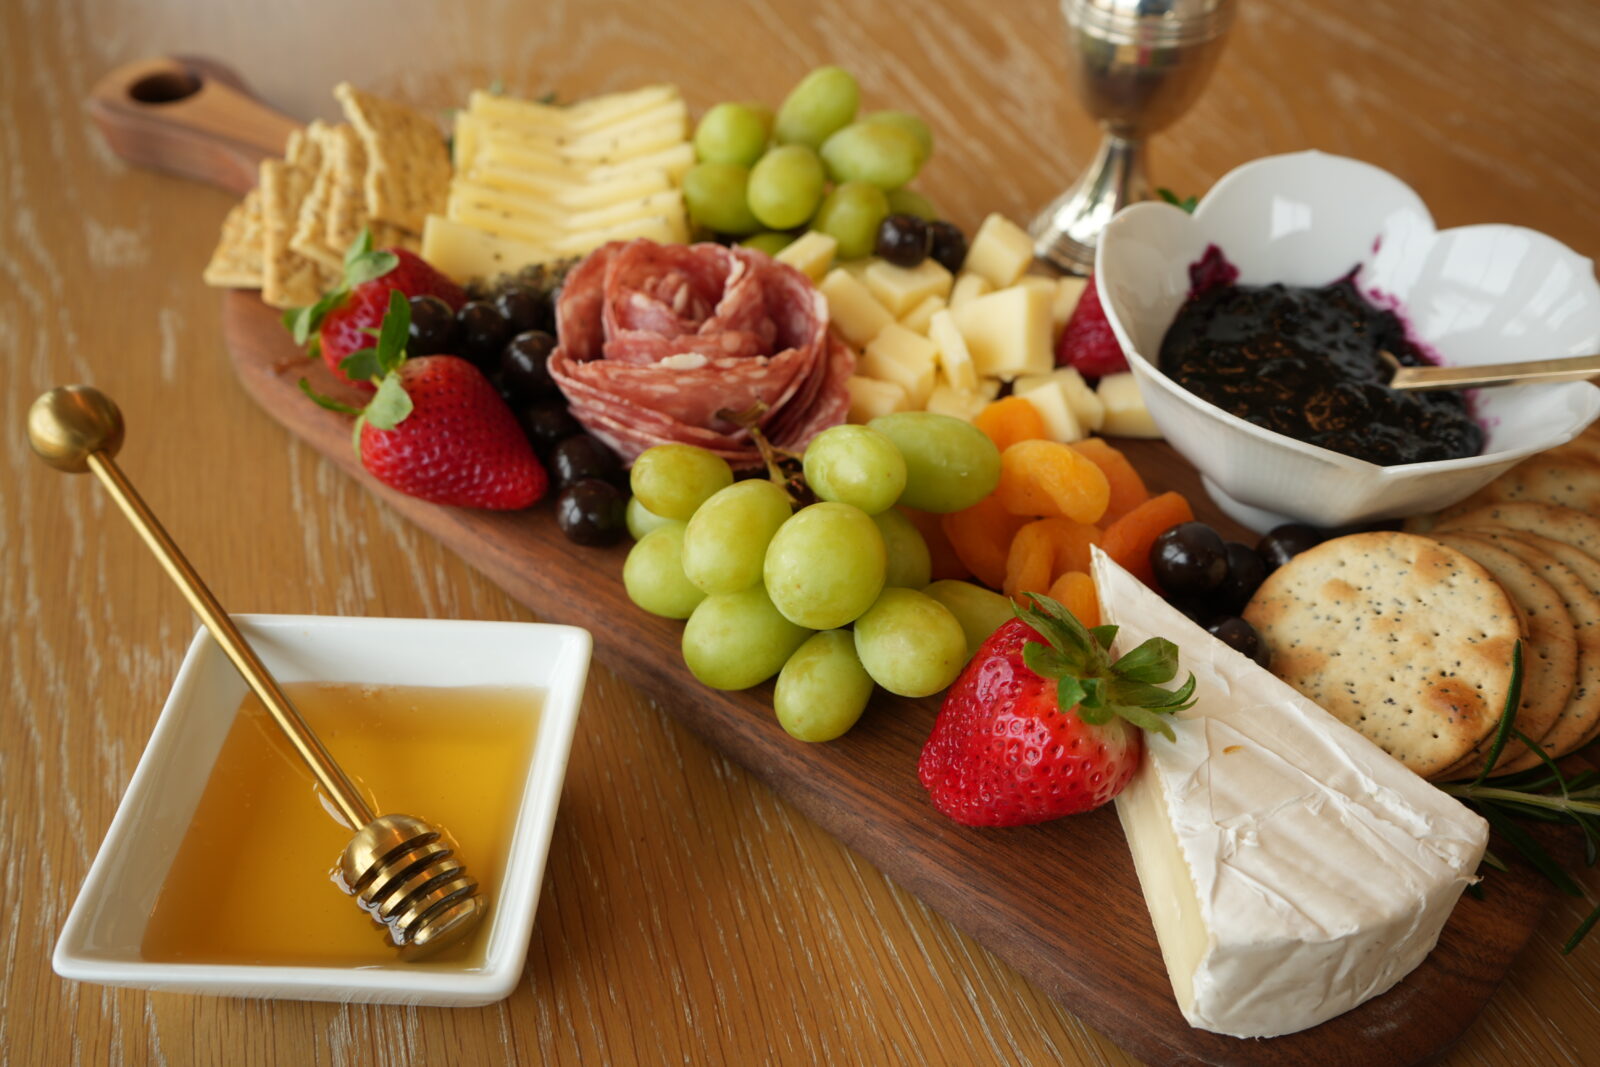
- Large Board: $50
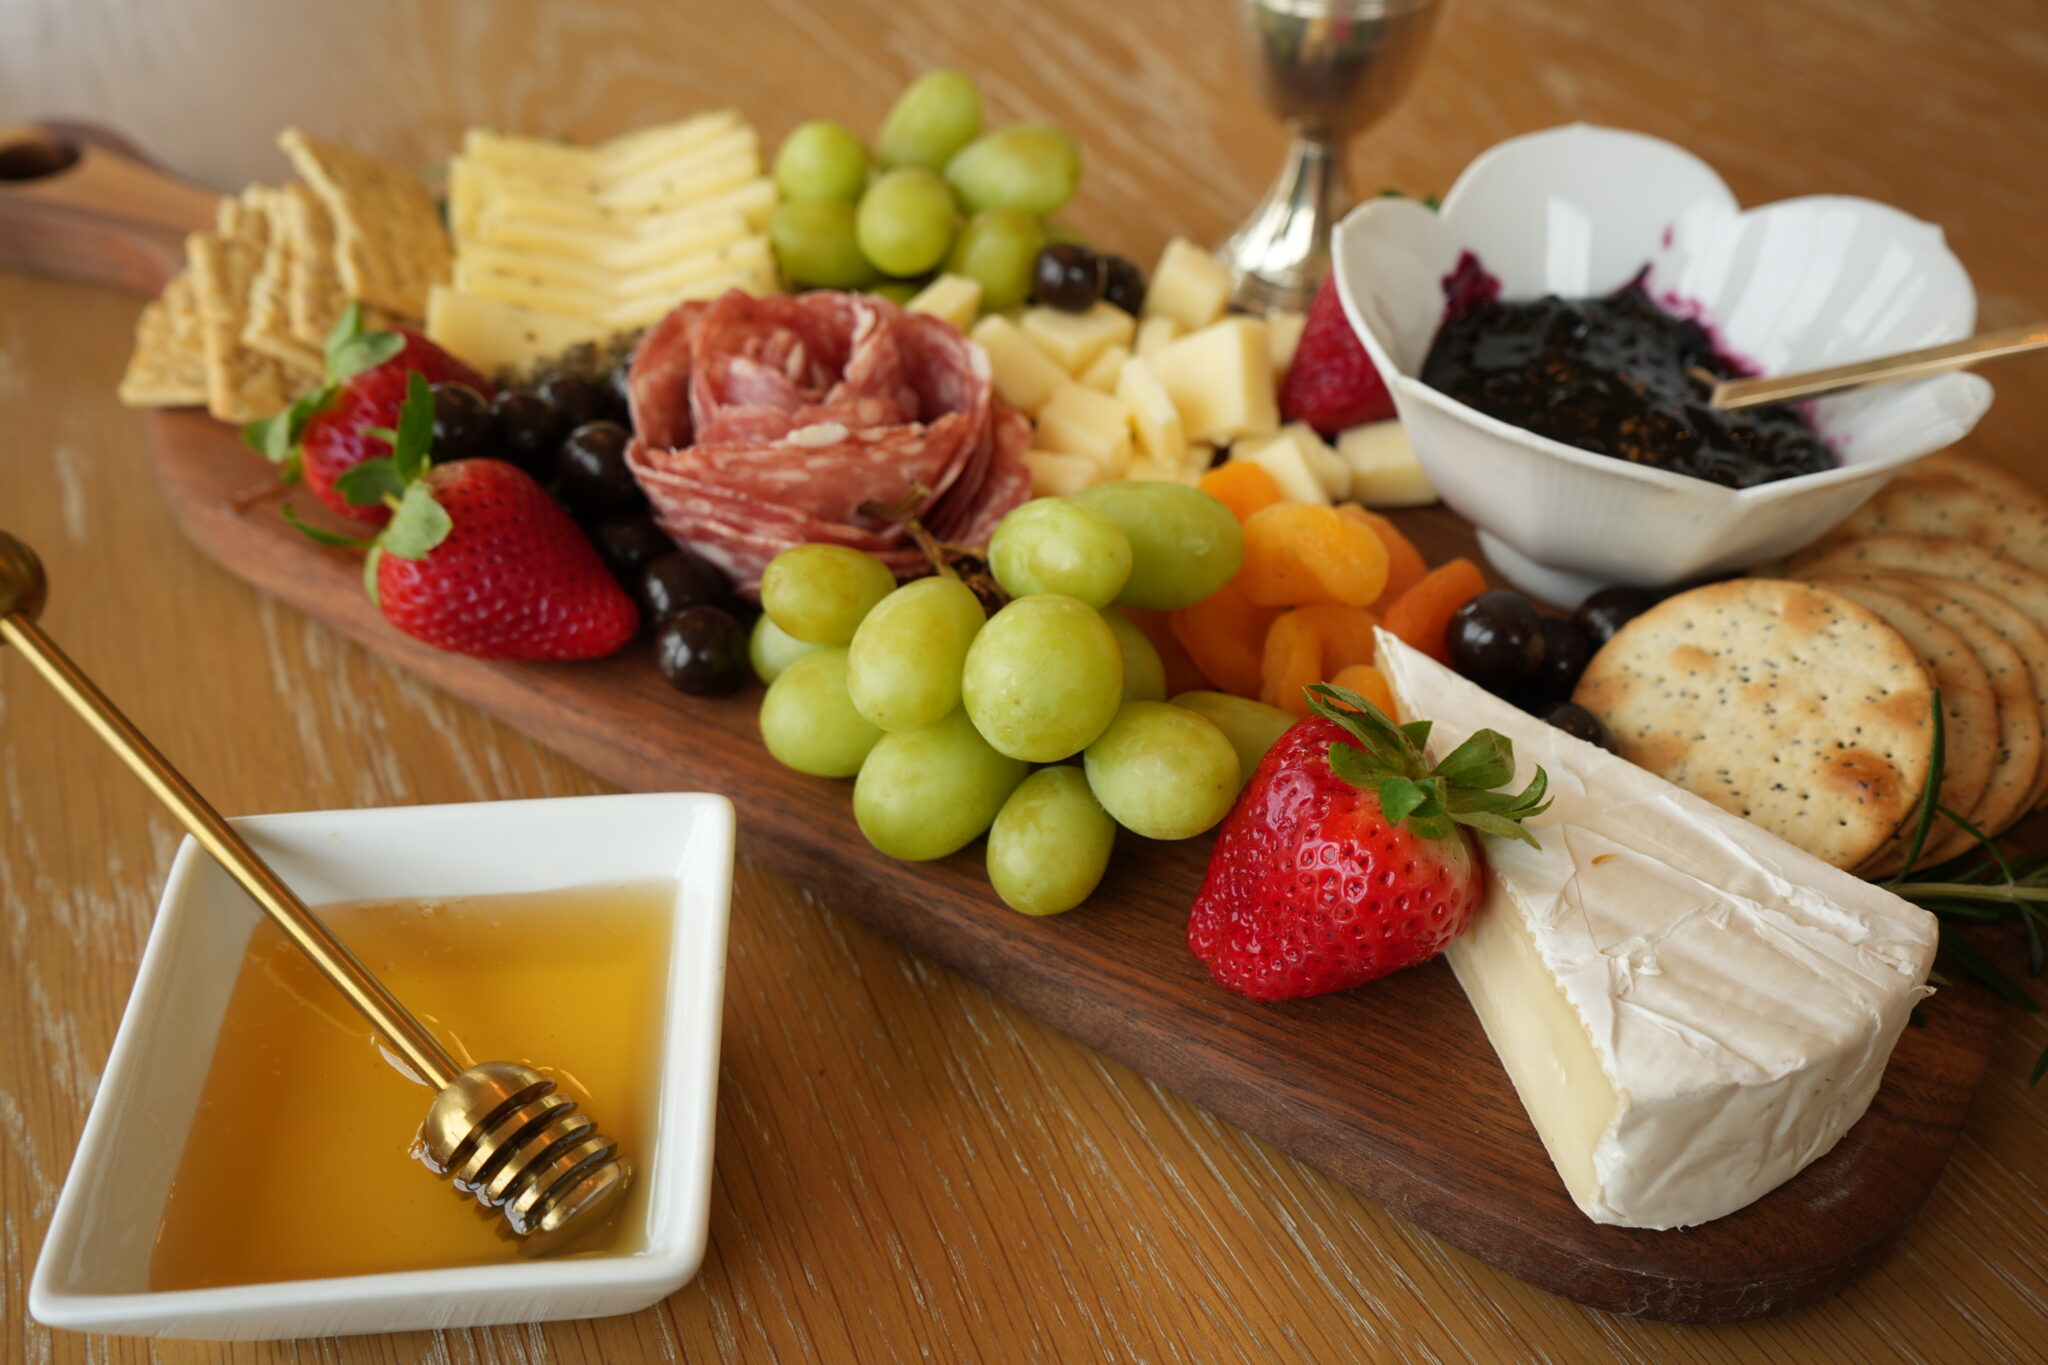
- Medium Board: $27
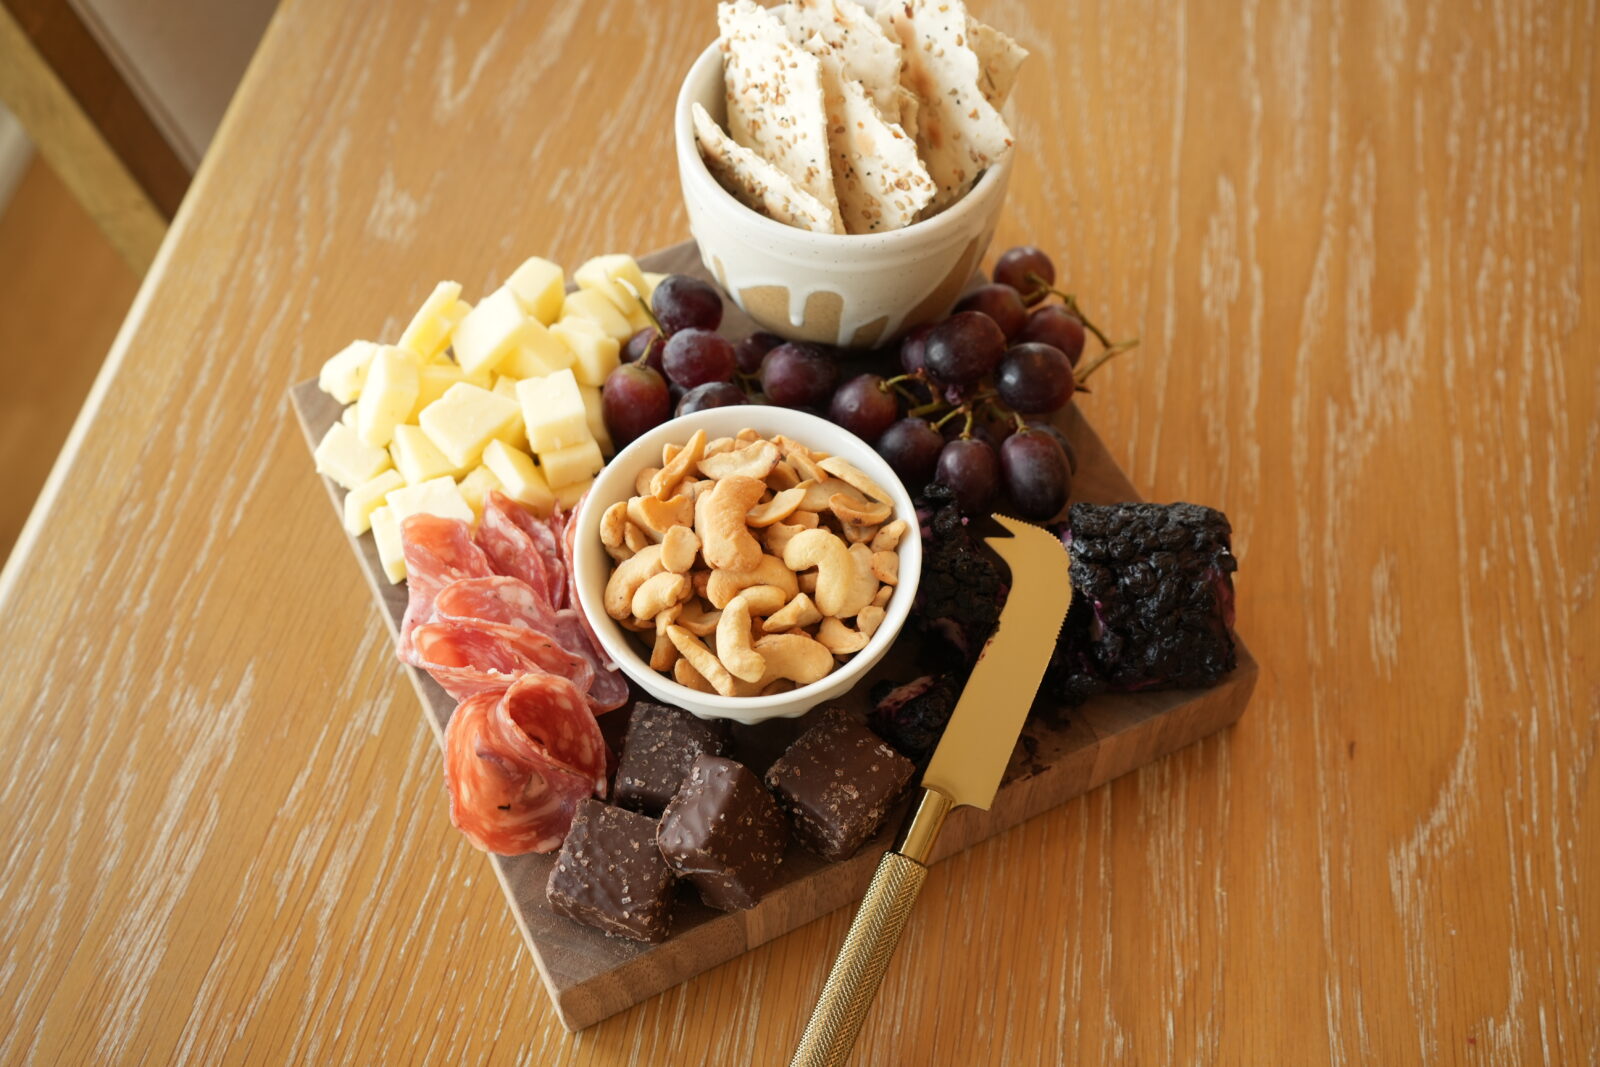
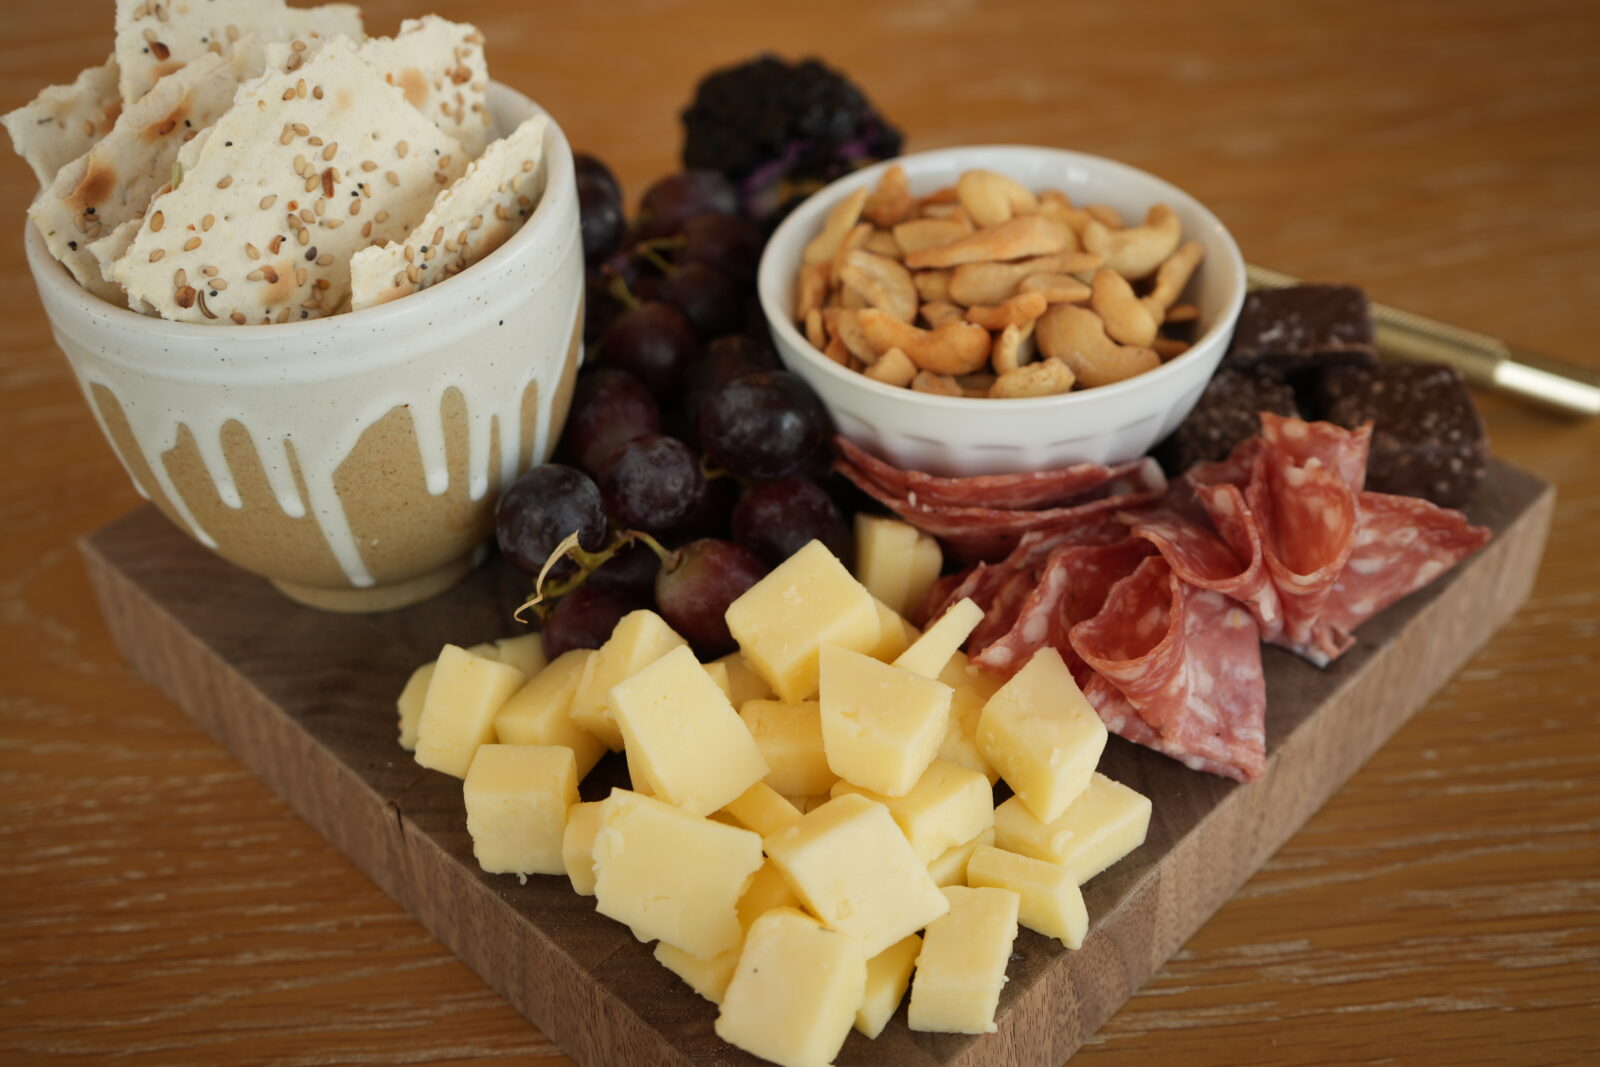
- Small Board: $23
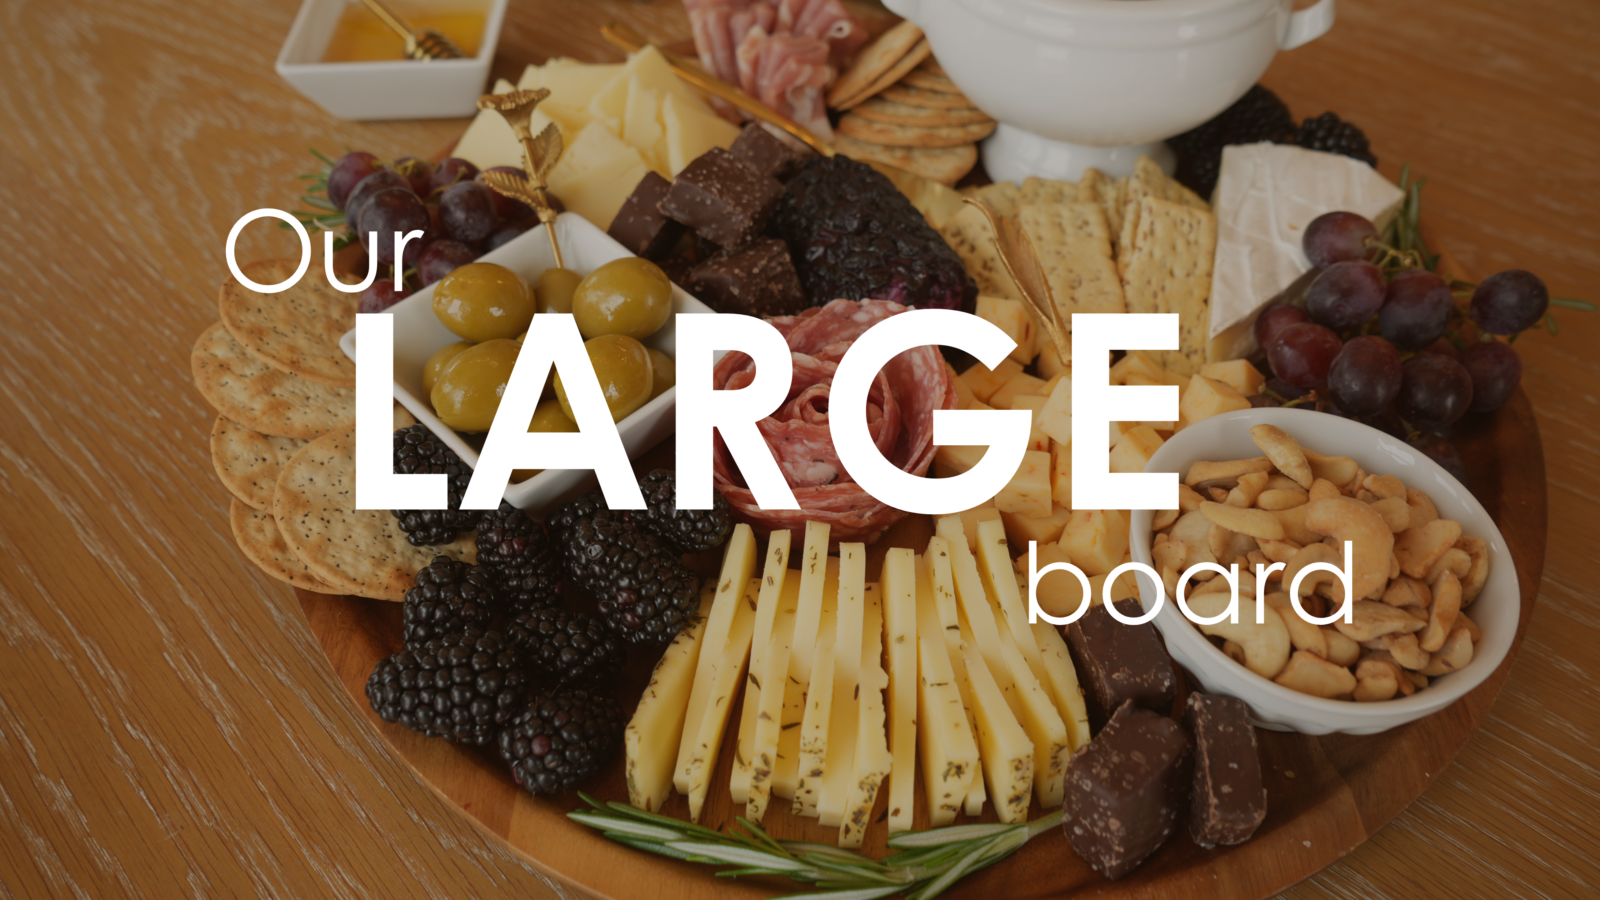
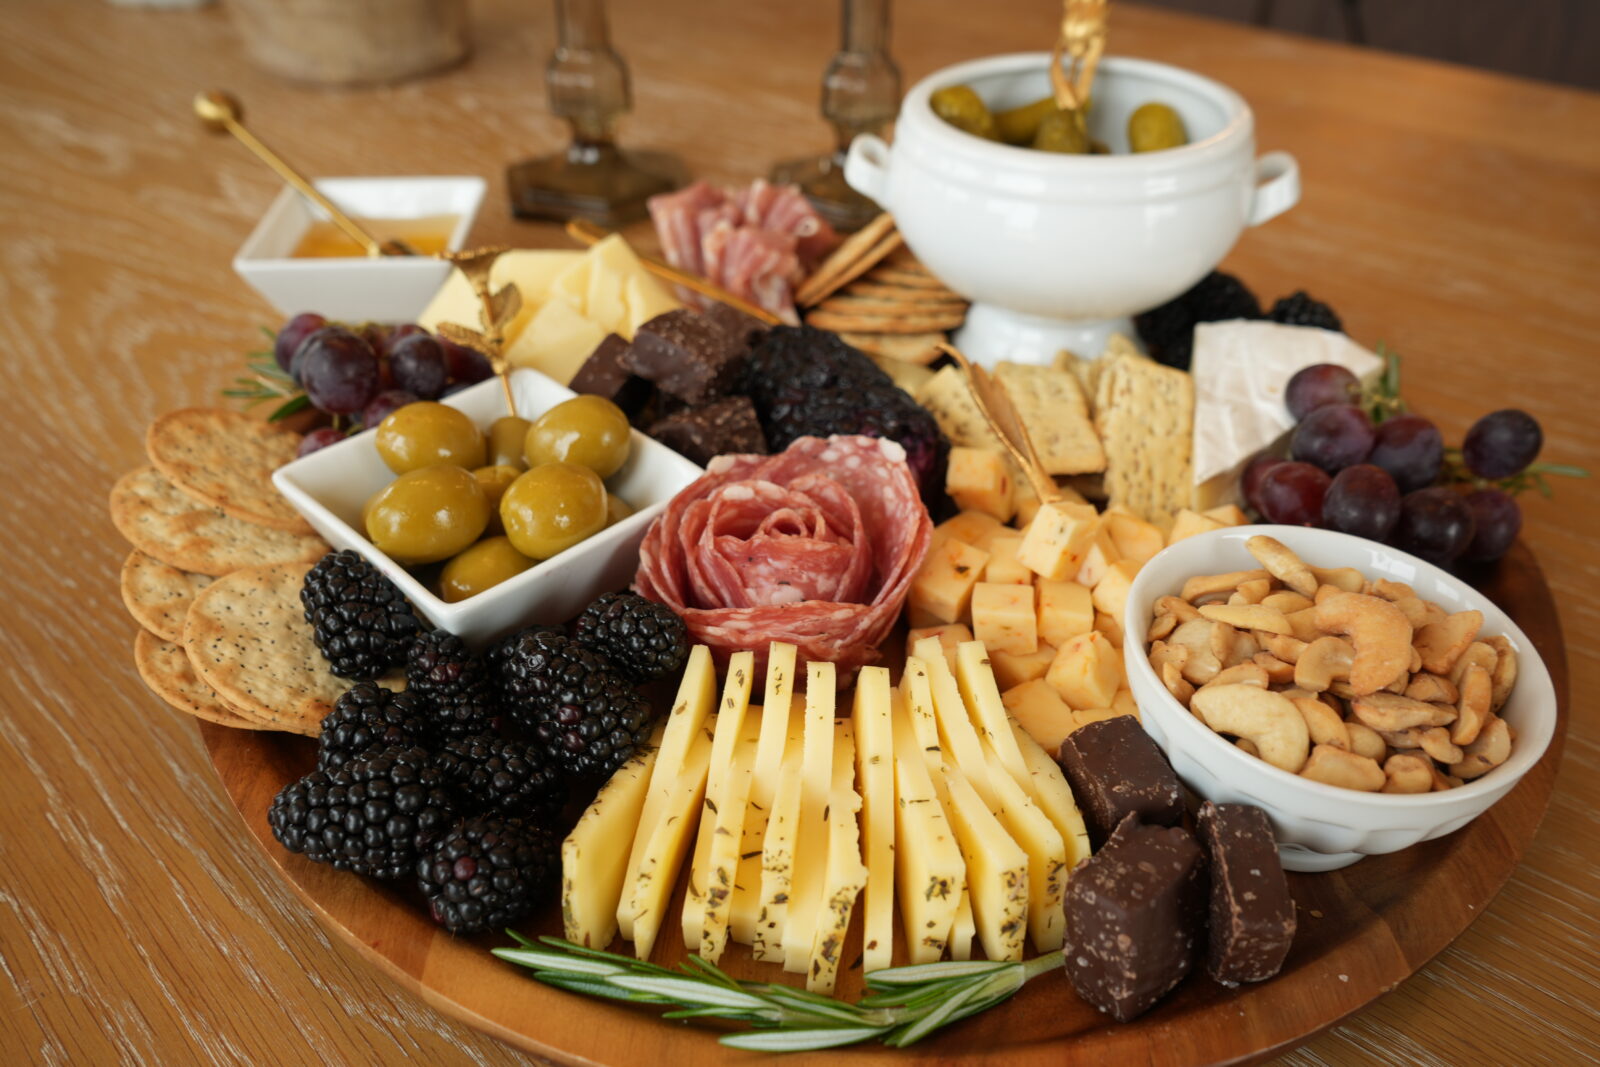
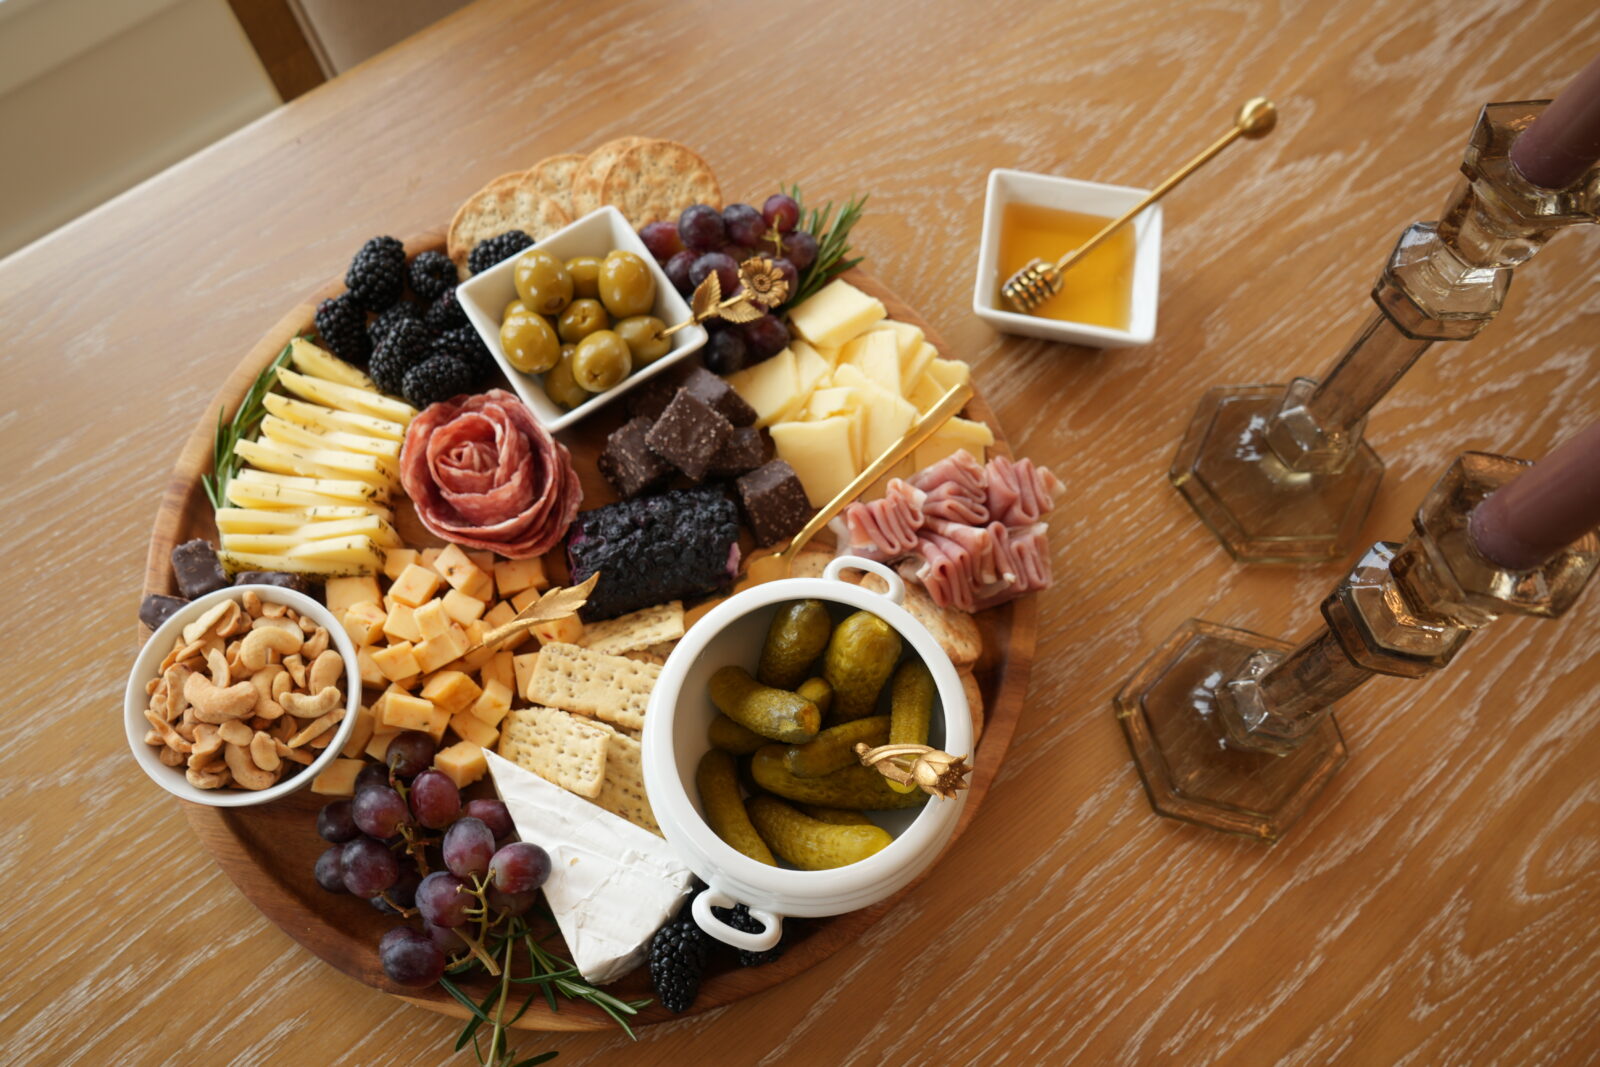
Our Large Board Shopping List
- Aged White Cheddar: $2.49
- Gouda: $4.20
- Chocolate Caramels: $4.19
- Brie: $3.99
- Cashews: $4.89
- Blueberry Goat Log: $3.29
- Blackberries: $4.99
- Cracker Assortment (we used 2 of the 6 groups of crackers that came in the pack, but you can use more if you have room on your board!): $3.89
- Salami: $3.49
- Prosciutto: $3.99
- Pickles: $1.85
- Olives: $2.79
- Grapes: $1.00
- Rosemary: $1.69 (or you could use from your garden depending on the season)
Total of: $50
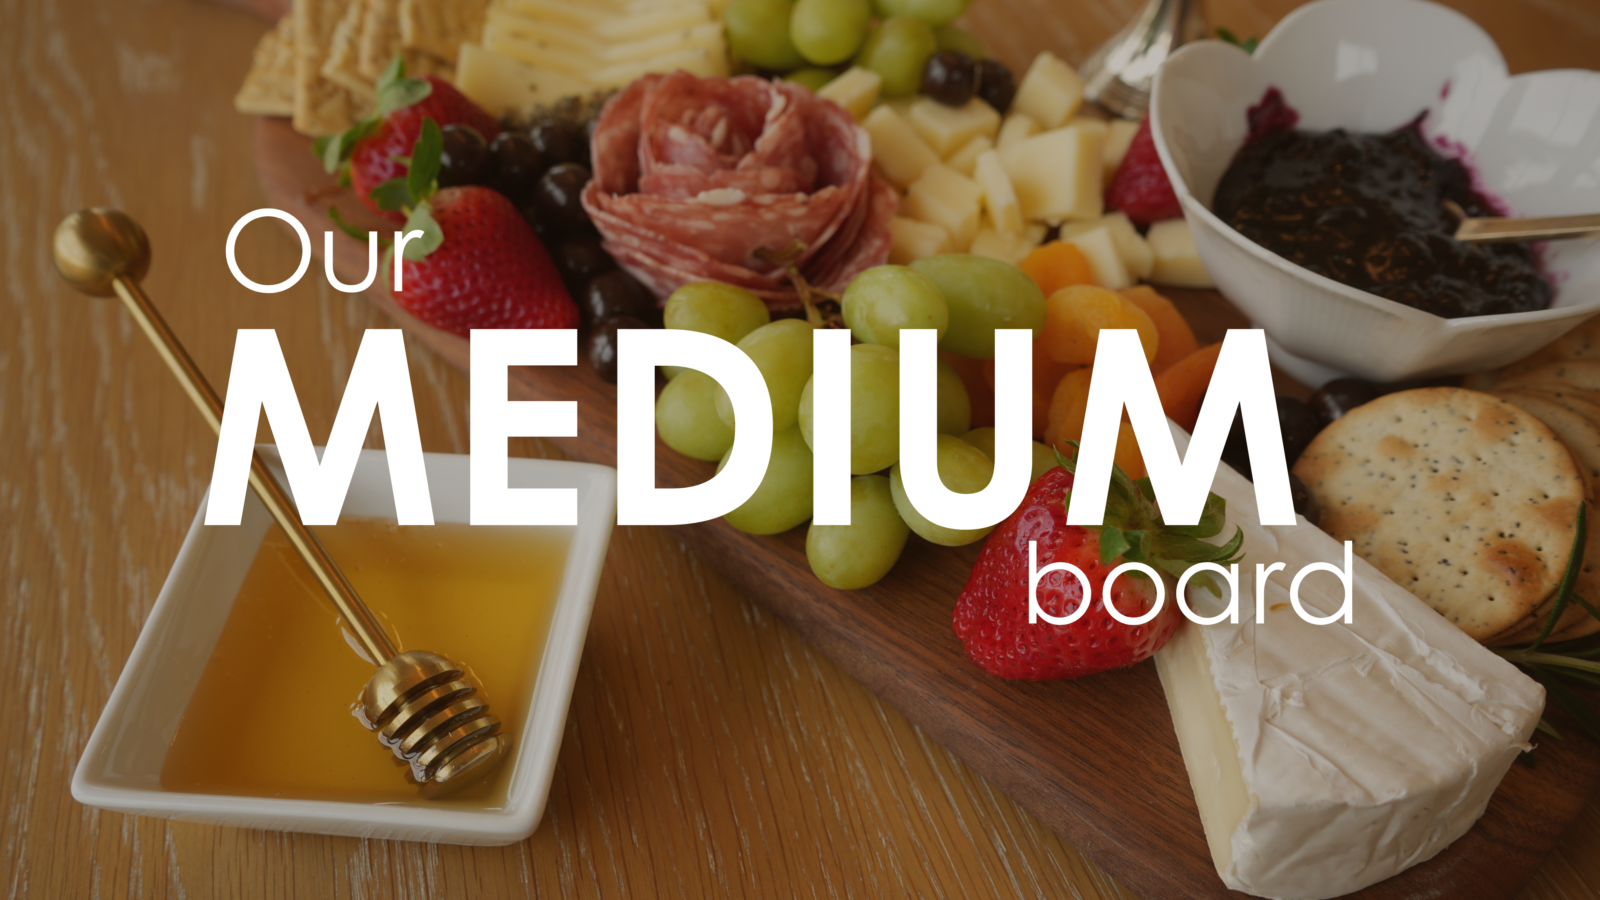
Our Medium Cheese Board Shopping List ($27)
- Brie: $3.99
- Award-Winning Cheese: $4.05
- White Cheddar $2.49
- Cracker Assortment (we used 2 of the 6 groups of crackers that came in the pack, but you can use more if you have room on your board!): $3.89
- Grapes: $1.00
- Apricots: $3.49
- Strawberries: $1.79
- Brookside Acai & Blueberry Flavors Dark Chocolate Candy: $3.99
- Jam: $2.49
- Salami: $3.49
- Rosemary: $1.69 (or you could use from your garden depending on the season)
Total of $27
Our Small Board Shopping List
- Rosemary Crackers: $3.99
- Cheddar: $2.49
- Goat Cheese: $3.29
- Salami: $3.49
- Grapes: $1.00
- Cashews: $4.89
- Chocolate Caramels: $4.19
Total of $23
Cheese Board Tips You Might Not Know
- Cut Cheese in Different Shapes: Cubes, triangles, crumbles, and slices add variety and visual interest.
- Layer & Stack: Place crackers in loose stacks, tuck folded meats into corners, and overlap cheeses for a more abundant look.
- Use a Ramekin for Soft Cheese: If you’re serving a soft cheese like goat cheese, placing it in a small ramekin keeps it tidy and easy to serve.
- Drizzle Honey: A small drizzle of honey over brie or goat cheese adds sweetness and enhances flavor. You can even layer some nuts or fruit on your brie as well.
- Leave a small wedge intact for aesthetic but slice the rest for easy snacking.
- Make a Salami Rose for a fun look: To make a salami rose, you can use a champagne glass, but any small glasses like a juice glass or even a shot glass will work. The key is finding a glass with a small rim to help shape the rose. Here’s how:
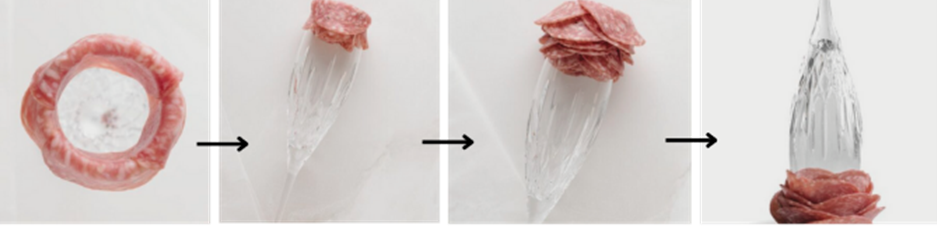

- Choose Your Glass and start Layering the Salami: Start by draping a slice of salami around the rim of the glass, overlapping the edges slightly. Continue layering slices around the glass, fanning them out as you go to create a spiral shape.
- Build Up the Rose: Keep adding layers of salami slices, slightly overlapping each one to form the petals of the rose. You can adjust the shape of the slices to get a more natural look.
- Remove and Adjust: Once you’ve formed the rose, gently slide it off the glass or flip the glass over onto your board. You can use a toothpick to secure the base if needed and adjust the petals for a fuller look.
Building a cheese board on a budget is easier than you think! By shopping smart, using affordable ingredients from places like Aldi, and following these little styling tips, you can create a spread that looks great and tastes amazing – all without overspending. Whether you’re planning a cozy night in or hosting a big get-together, these budget-friendly cheese board tips will help you impress your guests and stay within your budget.


Recent Comments